

Water dispensers are lifesavers, especially in a country like Nigeria, where tap water isn’t always safe to drink. But while we’re quick to change our water bottles, most people forget to clean the actual machine. Over time, mould, mildew, and bacteria can build up, especially in the taps, tray, and inside tank.
If your water starts tasting funny or has a strange smell, your dispenser might be the problem, not the water.
How often should you clean a water dispenser?
Experts recommend cleaning your dispenser every 6 to 8 weeks, or every time you change your water bottle. If you’re using it in a dusty environment or a public space like an office, you may want to clean it more often.
What you’ll need
Before you start, gather these items:
- Clean gloves
- White vinegar or unscented bleach
- Clean sponge or soft cloth
- Measuring cup
- Bowl or bucket
- Hot water
- Old toothbrush (for scrubbing hard-to-reach areas)
How to clean a water dispenser: Step-by-step
Step 1: Unplug the dispenser
Always start by unplugging your dispenser from the power source. Safety first.
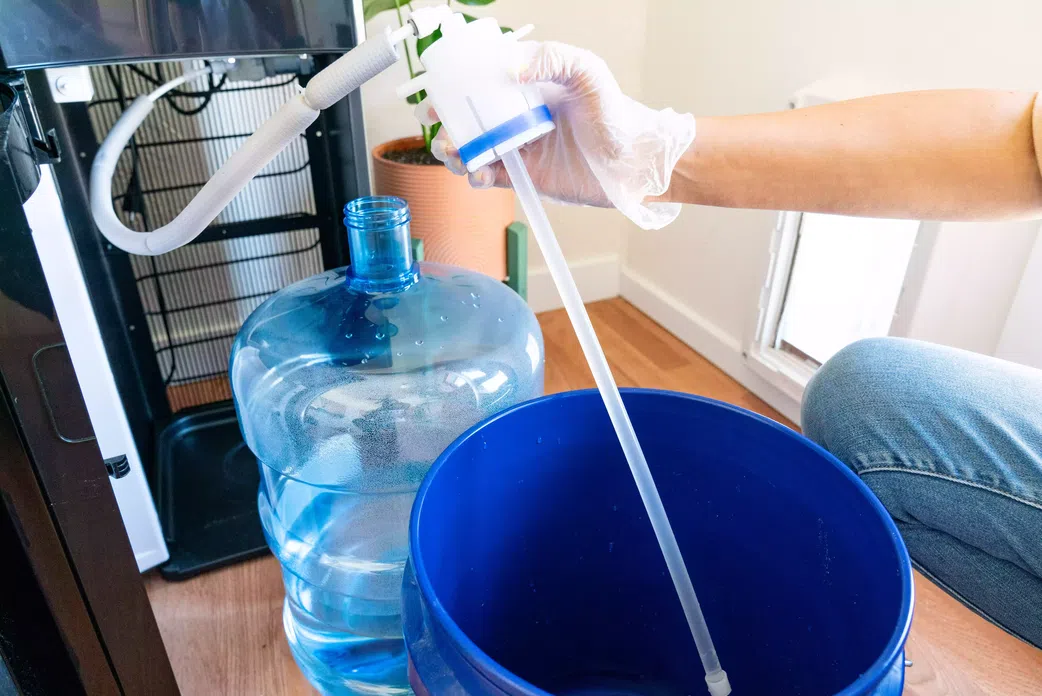
Step 2: Remove the water bottle
Lift off the bottle carefully. If there’s water left in the reservoir, you can drain it through the taps into a bucket.
Step 3: Clean the exterior
Using warm soapy water or vinegar solution, wipe down the body, buttons, and taps. Pay special attention to areas where dust or fingerprints collect.
Step 4: Clean the inside reservoir
There are two main ways to do this, depending on what you have at home:
- Using vinegar: Mix 1 part white vinegar with 3 parts hot water. Pour it into the tank, let it sit for 10–15 minutes, then drain it out through the tap.
- Using bleach: Add 1 tablespoon of unscented bleach to 4 litres of water. Pour into the tank, leave for 5 minutes, then rinse thoroughly.
Note: Do not mix bleach and vinegar. Use only one at a time.
Step 5: Scrub the taps
Use an old toothbrush or a small brush to clean inside the taps where dirt and slime tend to build up. This step is key for hygiene!
Step 6: Rinse thoroughly
Rinse the entire system with clean water at least twice to remove any vinegar or bleach residue. If not rinsed well, it could affect the taste of your drinking water.
Step 7: Wipe the drip tray
Don’t forget the little tray under the taps, it collects spilled water and can harbour bacteria. Remove it, wash it, and dry it completely before replacing.
Step 8: Reassemble and plug back in
Once everything is dry and clean, replace the parts, install a new water bottle, and plug your dispenser back in. Let it cool or heat (depending on the model) before dispensing your first cup.
Some newer models are bottom-loading or have electric chillers. Follow the same process above, but check the manufacturer’s manual for special cleaning instructions. Avoid getting electric parts wet and always unplug before cleaning.
Signs your water dispenser needs cleaning
- Water tastes metallic, sour, or strange
- The dispenser has a musty or stale smell
- Slimy or greenish residue in or around the tap
- Slow water flow (could be clogged with buildup)
If you notice any of these, don’t wait; clean your dispenser immediately.
A clean dispenser equals clean water. It’s not enough to buy bottled water. If your dispenser is dirty, your water might still get contaminated. Luckily, cleaning a dispenser is easy, cheap, and only takes a few minutes.
So, before your next refill, give your water dispenser the scrub it deserves. Your health (and your tastebuds) will thank you.